Support
> Advanced Topics > How to add a localised language version of the store name and address to your locatorHow to add a localised language version of the store name and address to your locator
You might want to be able to have your store names, addresses or other fields on the locator displayed in a different language. For example, a French or Thai version of the locator which is fully localised in terms of the details presented to the user (and not just the language of the interface). Here's our guide to setting this up.
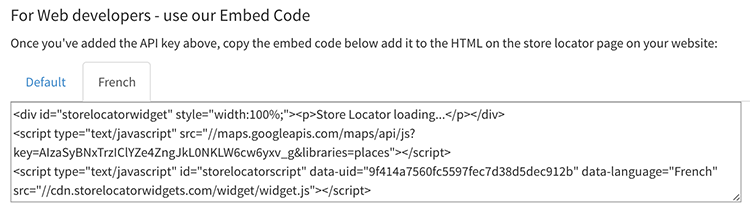
Firstly, you'll need to create a new language by clicking on the Labels & Languages menu option in the admin console. Give your language a name, for the sake of this example we'll call it 'French'. Once you've configured the language, you can click on 'Save Languages' at the bottom to save the details you've entered. Now you've created a new language, you'll see an extra tab under the HTML Embed Code section on the Add to your Website page for the French language version of the locator:
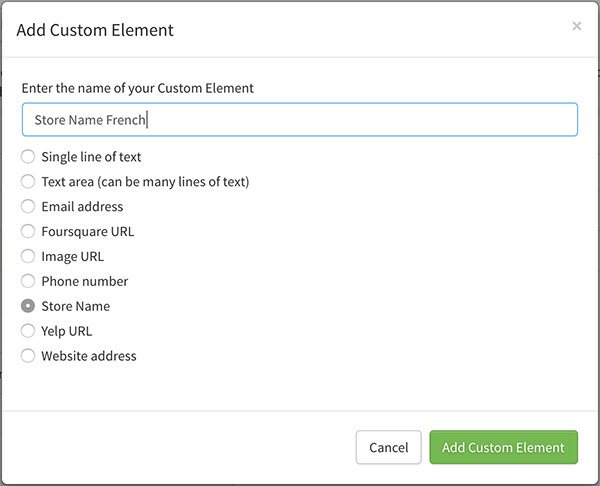
The next step is to create the French store name and address elements for the locator. Head to the Layout page and click on the Add Element button. Choose 'Store Name' as the element type and call it 'Store Name French' (or whatever you like). Click on Add Element again and select 'Text area' this time and call it 'Store Address French'.
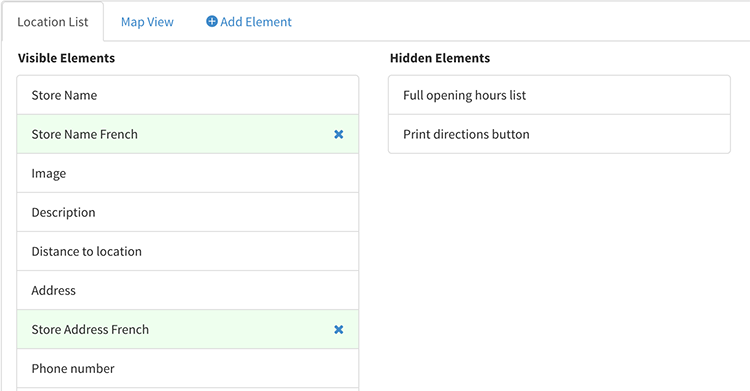
Now, drag the new green elements from the column on the right to the left and place them directly under 'Store Name' and 'Address' respectively. You'll need to do this twice, once for the Location List and once for the Map View tab. Click on the 'Save Location Layout' button to save your progress. This will add two new elements to your locator, one for the French store name and one for the French store address.
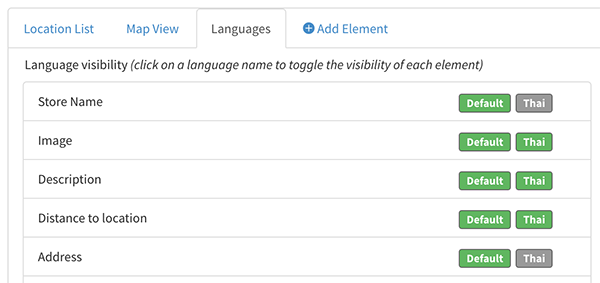
Now, switch to the Languages tab on the same page. Uncheck your new Language button for the Store Name and Address fields to hide those fields from being displayed on your default language page (here we've created a Thai language):
Next, uncheck the Default language for your newly created Store Name Language and Address Language fields:

Now you can import data into the new French fields. To get an import template for Excel, go to the Stores page and click on 'Bulk Export'. You'll see two new fields on the far right with the same names as the custom elements that you created:

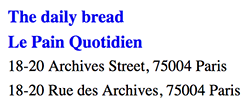
Upload the information for each location using this template and when you preview the locator, you'll see both English and French version of the Store Name and Store Address in the locator: